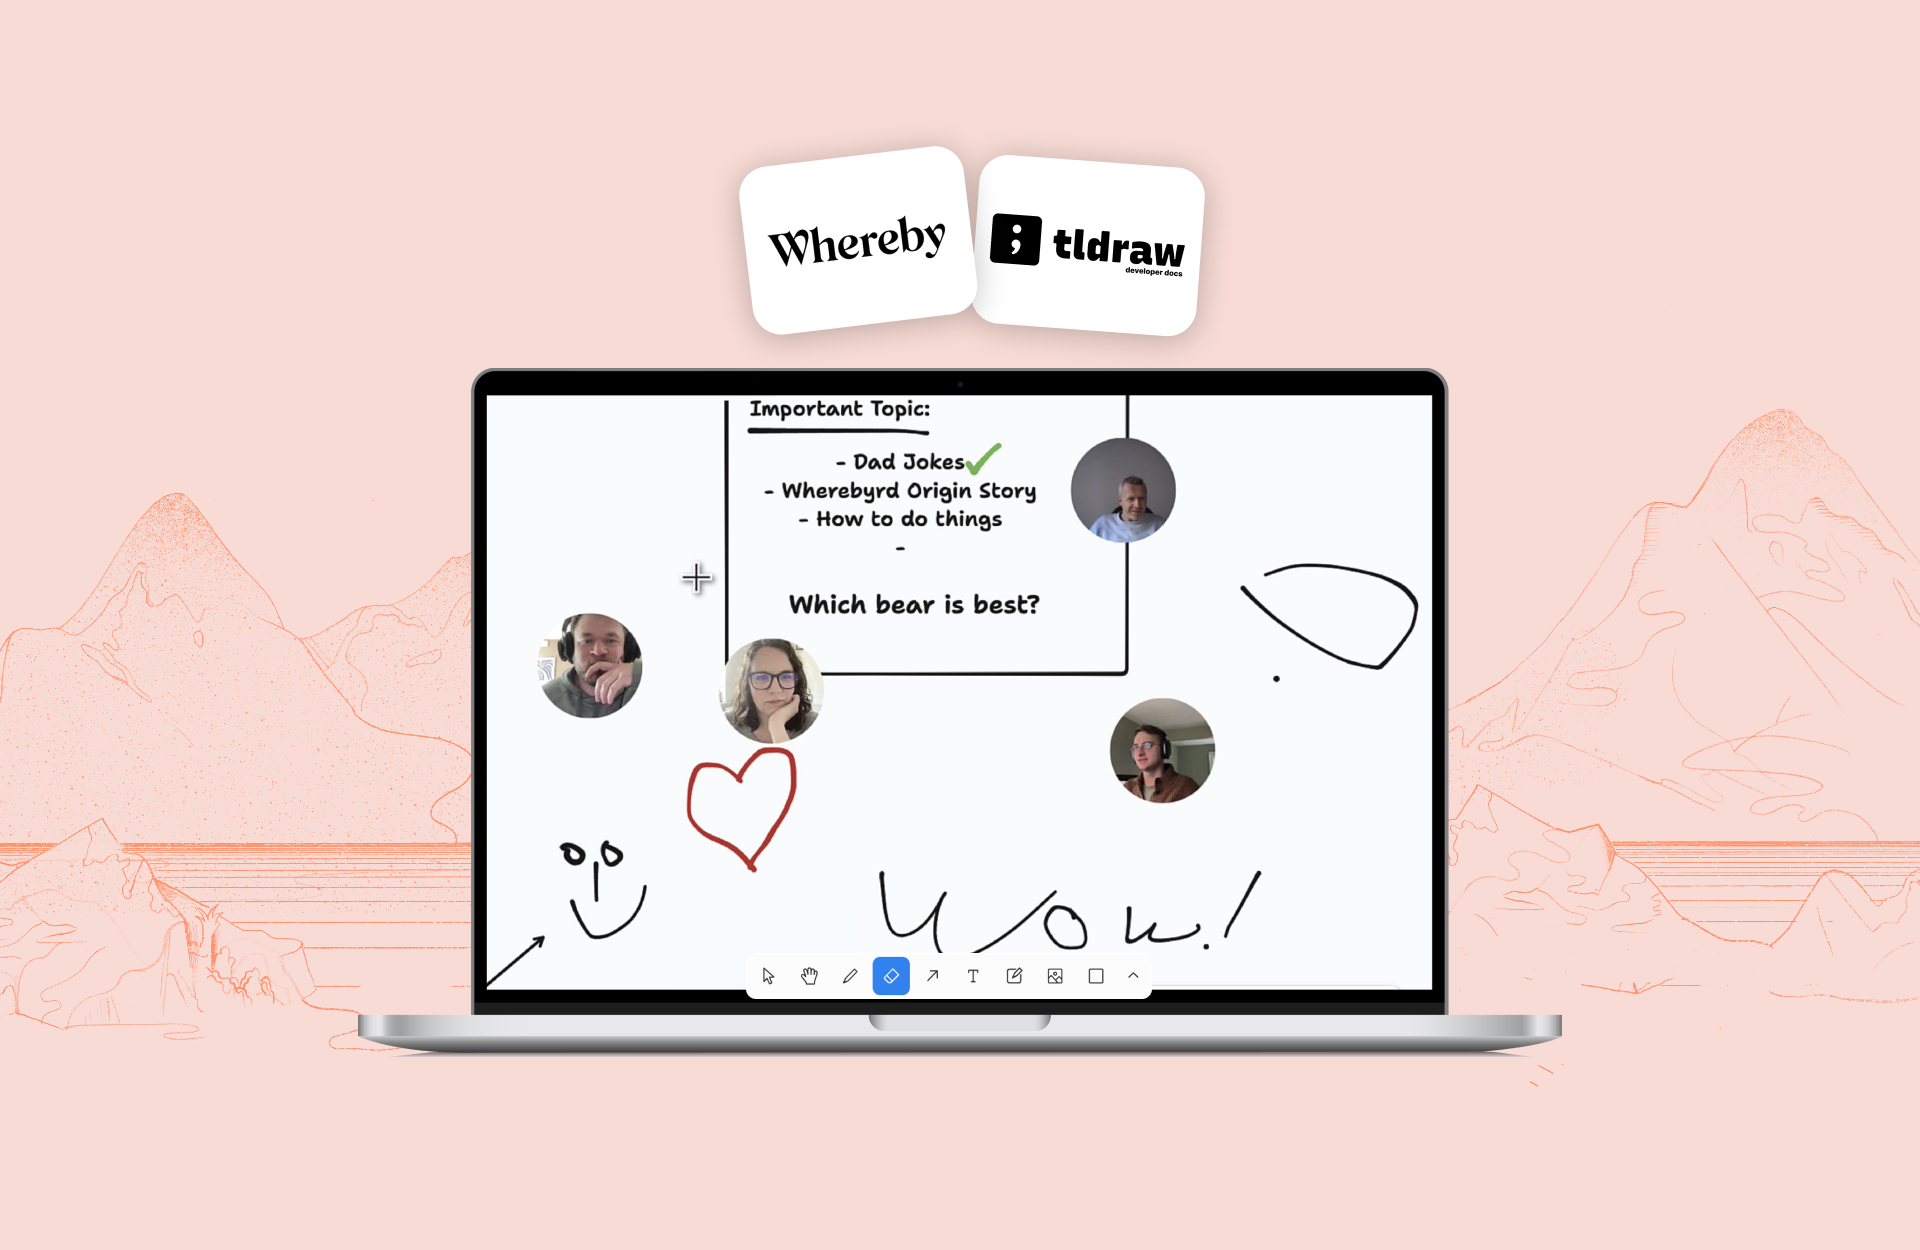
How We Used the Whereby SDK to Enhance Tldraw with Floating Video Feeds
Discover how we used the Whereby SDK to add floating video tiles to Tldraw in just a few hours.

At Whereby we are big fans of collaborative whiteboard tools, like Miro. We have an in-room integration that works great, and is a feature we use internally frequently.
However, there are limitations in customization and creating a truly immersive collaboration experience. With the release of our Browser SDK with React Hooks, there are endless opportunities to build real-time communication into any use case. We want to experiment and see if we can create something more interactive using our technology. What if we could elevate the interactive whiteboard experience by integrating video within the whiteboard itself, instead of launching it separately within the Whereby room? Imagine a scenario where each participant's video follows their cursor around the whiteboard. Let's test this out.
Tldraw
Tldraw is a great open source tool for whiteboards. It’s possible to clone their repository and get a fully functional whiteboard up and running in matter of minutes. We decided to play around with the tool, and test out how we could integrate Whereby’s browser-sdk in to this.
Starting out with Tldraw socket example
Tldraw has an excellent example app that demonstrates how you can easily implement a socket connection within tldraw. This was our starting point. The example is a simple react app bootstrapped with vite, with the tldraw library installed, and the socket handling is done by partykit. The idea is to use this, install the Whereby browser-sdk, and have the videos follow the cursor of each user. Sounds simple, right?
Tldraw setup
The tldraw socket example is working great, you can already see what other users are drawing, but it’s missing one crucial thing for our experiment: It’s not showing cursor positions of the other participants. Luckily, the underlying functionality is ready for us to do that, and it’s not complicated to do.
We’re not going to go into all the details of how this was done, but the main idea here is that we used the onMount function in the Tldraw editor component, which is a callback function that gives you access to an Editor object that you can use to listen to events happening in the whiteboard. These are local event, so what we did was to listen to cursor movement events, and store those in a local react state, so that we had the last positions of the cursor at all times, and then we passed that back to the store, along with some other data (username, id, etc). This is how our onMount function looks at this point:
export function Component() {
  return (
    <Tldraw
      autoFocus
      store={store}
      components={{
        SharePanel: NameEditor,
      }}
      onMount={(editor) => {
        editor.on("event", (event) => {
          /*
             The handleCursorMove function is responsible for storing the
             position, and updating the store.
           */
          handleCursorMove(event);
        });
        /*
           Initial creation of a "presence" object. This is updated
           in the handleCursorMove function above.
         */
        const peerPresence = InstancePresenceRecordType.create({
          id: InstancePresenceRecordType.createId(editor.store.id),
          currentPageId: editor.getCurrentPageId(),
          userId: "peer-1",
          userName: editor.user.getName(),
          cursor: { x: 0, y: 0, type: "default", rotation: 0 },
        });
        editor.store.put([peerPresence]);
        setPresence(peerPresence);
      }}
    />
  );
}
We now store the position of the local cursor both locally in our component, and in the websocket store. The flow is like this:
User mounts the app →
onMounton the editor is calledWe create a
peerPresenceobject for the user, and pass that to the store (the websocket server)We listen for changes to the cursor position, and updates the store whenever it changes. (We also store the last cursor position in our local state)
This will show where the local cursor is in the editor, but we don’t show the positions of the remote participants yet. To do that, we stored another piece of local state, an object containing the user id as a key, and an object with the x and y values as a value. That might sound confusing, but it’s not that complicated. It looks like this:
const [remotePositions, setRemotePositions] = React.useState<
  Record<string, { x: number; y: number }>
>({});
This allows us to replace whatever cursor value comes in for a given user, so that we only store the last known position.
To populate this object, we used another callback function on the Editor object in the onMount function, and updated them as they came in.
// In the onMount function
editor.on("change", (change) => {
  if (change.changes.updated) {
    const updates = Object.values(change.changes.updated);
    updates.forEach((update) => {
      update.forEach((record) => {
        if (record.typeName === "instance_presence") {
          /*
	        handlePositionChange only updates the local state
	        "remoteParticipants". This is only syncing with the
	        websocket store, no updates needed.
	        */
          handlePositionChange(record as TLInstancePresence);
        }
      });
    });
  }
});
At this point we were able to see the real time position of the cursor of each participant in the editor.
If you want more details on how to this in a Tldraw app, head over to their documentation.
Connect to a Whereby room
Alright, now that we have the whiteboard up and running, let’s add videos! Whereby’s browser-sdk allows us to bring in the media capabilities that we need, without any of the hassle of the inner workings of webrtc. First step is to install the library in our project;
yarn add @whereby.com/browser-sdkWe can then connect to a Whereby room. Check out our documentation on info on how to create a room.
import {
  LocalParticipant,
  RemoteParticipant,
  useRoomConnection,
  VideoView,
} from "@whereby.com/browser-sdk/react";

const roomUrl = "https://your-subdomain.whereby.com/room";
const roomConnection = useRoomConnection(roomUrl, {
  localMediaOptions: {
    video: true,
    audio: true,
  },
});
const { localParticipant, remoteParticipants } = roomConnection.state;
This gives us access to local and remote participants' video and audio feeds, and allows us to render the video streams on the screen. This piece of code allows the user to join the room automatically, and enables both microphone and camera.
The first thing we did was to render the videos. We simply added this piece of code to the SyncExample component, before the Tldraw component:
<div
  style={{
    position: "absolute",
    zIndex: 100,
  }}
>
  {localParticipant?.stream ? (
    <VideoView
      key={localParticipant.id}
      stream={localParticipant.stream}
      muted
      style={{
        width: "100px",
        height: "100px",
        borderRadius: "100%",
        objectFit: "cover",
      }}
    />
  ) : null}
  {remoteParticipants.map((participant) => {
    if (!participant.stream) {
      return null;
    }
    return (
      <VideoView
        key={participant.id}
        stream={participant.stream}
        style={{
          width: "100px",
          height: "100px",
          borderRadius: "100%",
          objectFit: "cover",
        }}
      />
    );
  })}
</div>;
This renders all the videos, but they are on top of each other. That’s fine, since we will update the positions based on the cursor position of each participant. We now have all the pieces, so let’s put it together.
Sync Tldraw and Whereby state
As of now, we don’t connect the Whereby user and Tldraw user in any way. Luckily we can solve this very easily. When we create the peerPresence object and send it to the store, we can add whatever metadata we want to the object. This metadata will be available for us on the “other side”, meaning that we can send our Whereby user id for each local participant to the store, and pick it up again when we listen for store changes. It’s as easy as adding this line in the onMount function:
const peerPresence = InstancePresenceRecordType.create({
  id: InstancePresenceRecordType.createId(editor.store.id),
  currentPageId: editor.getCurrentPageId(),
  userId: "peer-1",
  userName: editor.user.getName(),
  cursor: { x: 0, y: 0, type: "default", rotation: 0 },
  // This is the added line
  meta: { wherebyId: localParticipant?.id },
});
editor.store.put([peerPresence]);
setPresence(peerPresence);
We also updated the handlePositionChange function, to use the Whereby id as the key, instead of the TLDraw id that we used earlier:
// handlePositionChange
setRemotePositions((prev) => ({
  ...prev,
  [record.meta.wherebyId as string]: record.cursor,
}));
Now we have connected the two, and can move on to the last step, which is the fun part.
Make the videos follow the cursor positions
Let’s start with the local video. This is quite easy, as we have local cursor position already saved in our local state. We can’t just set the x and y position on the video though, as that will result in a very laggy experience. What we can do instead is to add a transform and transition property, to have it animate from the previous position to the new one. That should give us a smooth experience. All we did was to add these two lines on the style prop of the VideoView of the local participant:
transform: `translate(${localPosition.x}px, ${localPosition.y}px)`,
transition: "transform 120ms linear",
Now, when I move my cursor around, the video follows it in a smooth movement. Cool.
For the remote participants, the idea is the same, we just need to pick out the correct user id positions from our local state, and use those:
{
  remoteParticipants.map((participant) => {
    /*
	 We loop over the remote participants, find the cursor positions
	 using the id, and render the video element for each one with the
	 same position animation we used for the local participant.
	*/
    const position = remotePositions[participant.id];
    if (!participant.stream) {
      return null;
    }
    /*
	The extra caution here is probably not necessary, but it makes the
	 Typescript compiler happy.
       */
    const posX = position?.x ?? 0;
    const posY = position?.y ?? 0;
    return (
      <VideoView
        key={participant.id}
        stream={participant.stream}
        style={{
          width: "100px",
          height: "100px",
          borderRadius: "100%",
          objectFit: "cover",
          transform: `translate(${posX}px, ${posY}px)`,
          transition: "transform 120ms linear",
        }}
      />
    );
  });
}
And that’s it! You should now be able to join this app with several participants, and the video will follow each persons cursor. It’s not perfect, and there’s definitely room for improvement, but with a few lines of code, we managed to make something that is really interactive and fun to use!
It’s fun to experiment
While this is not something that is production ready by any means, it shows that it's possible to combine Whereby's video abilities with Tldraw's interactive whiteboard. The code required to get an MVP up and running is minimal, and this whole experiment only took a few hours to implement. This is just the tip of the iceberg, and the idea of this experiment is to show what can be done by using creative approaches to flexible technology. If you want to test out Whereby’s browser-sdk yourself, you can head over to our documentation page, where we have reference documentation, tutorials and more.
Our latest versions are available on npm, free to play with today with a Whereby Embedded account. We will continue to iterate and improve the core functionality and the developer experience, so we’d love more feedback and use cases as we grow this. Please submit an issue or join our Discord community to get in touch.


